
29 January 2012
Another break ...
Hello dear friends,
I'll be taking another blogging break ... my mom was rushed to the hospital early Friday morning. She's now out of ICU and doing much better but I need to give my full attention to her right now.
I know you'll keep us in your thoughts and prayers and I can only say how much I appreciate knowing you're here with me. I hope to be back soon. xoxo
27 January 2012
Meyer Lemons

24 January 2012
Deep Dish Apple Pie


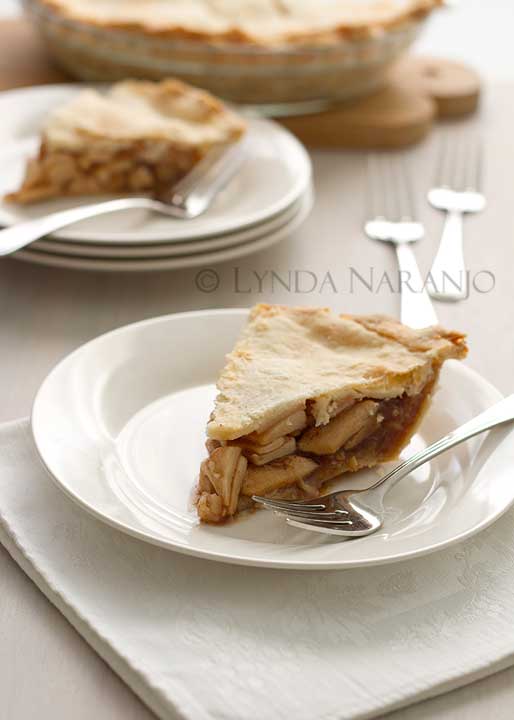
Deep Dish Apple Pie
6-8 medium cooking apples (MacIntosh, Spy or Cortland) - more if you want a higher pie
3/4 cup brown sugar
3/4 tsp cinnamon
3/4 tsp nutmeg
3 tbsp corn starch
1 tbsp lemon juice
1-2 tbsp butter
Prepare pastry for a two crust pie.
Peel and core apples, then slice thinly. Mix with above ingredients (except butter) and pour into unbaked deep dish pie shell. Dab the top of the filling with a tablespoon or two of butter then top with crust.
Bake at 450 F for 10 minutes then reduce heat to 350 F and bake for approximately 4o minutes or until filling is cooked. (Tip ~ To keep your pie crust from overcooking, cover it lightly with foil after 20-30 minutes.)
Serve still warm with vanilla ice cream.

12 January 2012
White Chocolate Macadamia Nut Cookies


White Chocolate Macadamia Nut Cookies ... adapted from Nestle Toll House Chocolate Chip Cookie recipe
2 1/4 cups all-purpose flour
1 teaspoon baking soda
1 teaspoon salt
1 cup butter, softened
3/4 cup granulated sugar
3/4 cup packed brown sugar
1 teaspoon vanilla extract
2 large eggs
2 cups white chocolate chips
1 cup chopped macadamia nuts
Preheat oven to 375 degrees F. In a small bowl, combine flour, baking soda and salt. In a large bowl, beat butter, granulated sugar, brown sugar and vanilla extract until creamy. Add eggs one at a time, beating well after each addition. Gradually beat in flour mixture. Stir in white chocolate chips and nuts. Drop by rounded tablespoon onto ungreased baking sheets.
Bake for 9 to 11 minutes or until golden brown. Cool on baking sheets for 2 minutes then remove to wire racks to cool completely.
2 January 2012
Welcome 2012!
Happy New Year! I hope you all had a lovely holiday. As expected, ours was very quiet but really, really nice. Not having time to do it all this year, I picked what I felt where the most important bits and focused on them. Keeping the holidays simpler made them so much more enjoyable ... something I'm going to try to remember for next year. Now I'm ready to get back into some sort of routine although I'm finding it just a little bit difficult ... I'm so far behind and don't quite know where to start! It feels like I've been away forever!
 I'm always excited about a new year, aren't you? So many possibilities! It's like starting off with a clean slate. You'll notice my blog looks a lot different ... this is something I was working on before my Mom got sick and I was able to finish it up last weekend. I was ready for something cleaner, lighter, simpler ... and I really missed having a sidebar. I may or may not add a photo to the banner ... right now I like it just the way it is. There are still a few things that need to be tweaked but I'm almost there.
 Did you make any resolutions? Set any goals? I didn't this year. I didn't choose a word for the year either. Every January I make these lofty goals and by February reality sets in. So this year I decided my only "goal" was to enjoy doing what I do. Every day. Every minute. That should be easy because I already enjoy what I do! And hopefully I'll be able to do more of it.
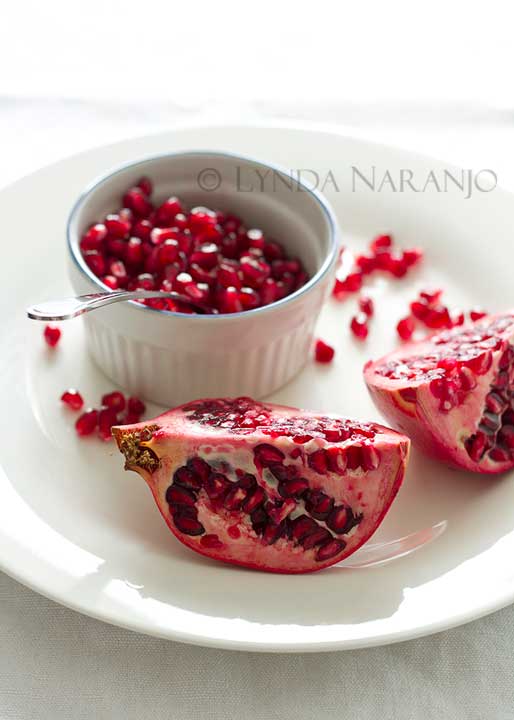 Now I realize that pomegranates have absolutely nothing to do with this post but they're one of my favourite treats for the holidays so of course I had to photograph them before eating them. The seeds look like tiny red jewels, especially against the white dishes, and I love their tartness ... so refreshing after all the sweets that I've indulged in lately.
Thanks for joining me on my journey ... I'm so glad you're here! Wishing you the best year ahead ever ... Happy 2012! xo
Thanks for joining me on my journey ... I'm so glad you're here! Wishing you the best year ahead ever ... Happy 2012! xo
Subscribe to:
Posts (Atom)